How to Grill the Perfect Steak
A perfectly flame-charred steak is truly a work of art, but you need more than just a full tank of propane to become an artist. These tips are sure to put you on the road to success.
An exceptional steak should be flavorful, tender, and juicy. But to achieve those traits requires some know-how. First, you need to know what to buy. While not all steaks are created equal, most of the beef sold in grocery stores is graded USDA choice. With its ample marbling and overall good quality, choice meat is great for everyday cooking. Certified Angus beef is the best of the choice class due to its high standards of certification. For special occasions, top grade prime is an excellent, though more expensive, option, if you can find it. With the steaks in the bag, use these tips on page 41 to grill them perfectly.
Tips for grilling the best steak
-
Purchase steaks at least 1-inch, but no more than 2-inches thick. Thinner steaks are hard to keep from overcooking, while thicker steaks tend to char on the outside before the inside gets cooked.
-
Preheat the grill — at least 20 minutes before cooking steaks. This step promotes good searing, which is a flavor boost.
-
Clean the grill. A dirty grill makes for a dirty steak. And a hot grill is much easier to clean. A stiff wire brush works best for this.
-
Brush the grate with oil to prevent steaks from sticking. Use a folded paper towel dipped in vegetable oil and draw it across the grate. Or you can grease the grate by coating it with nonstick spray.
-
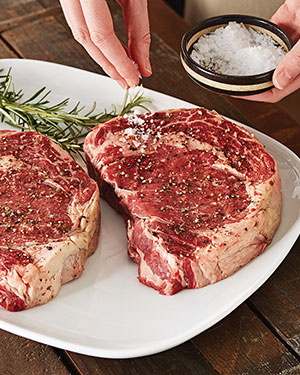
Trim any excess fat. The less external fat, the less likely it is to melt into the flames, causing flareups and overly charred steaks.
-
Pat the steaks dry. Excess moisture prevents a good sear and that inhibits flavor.
-
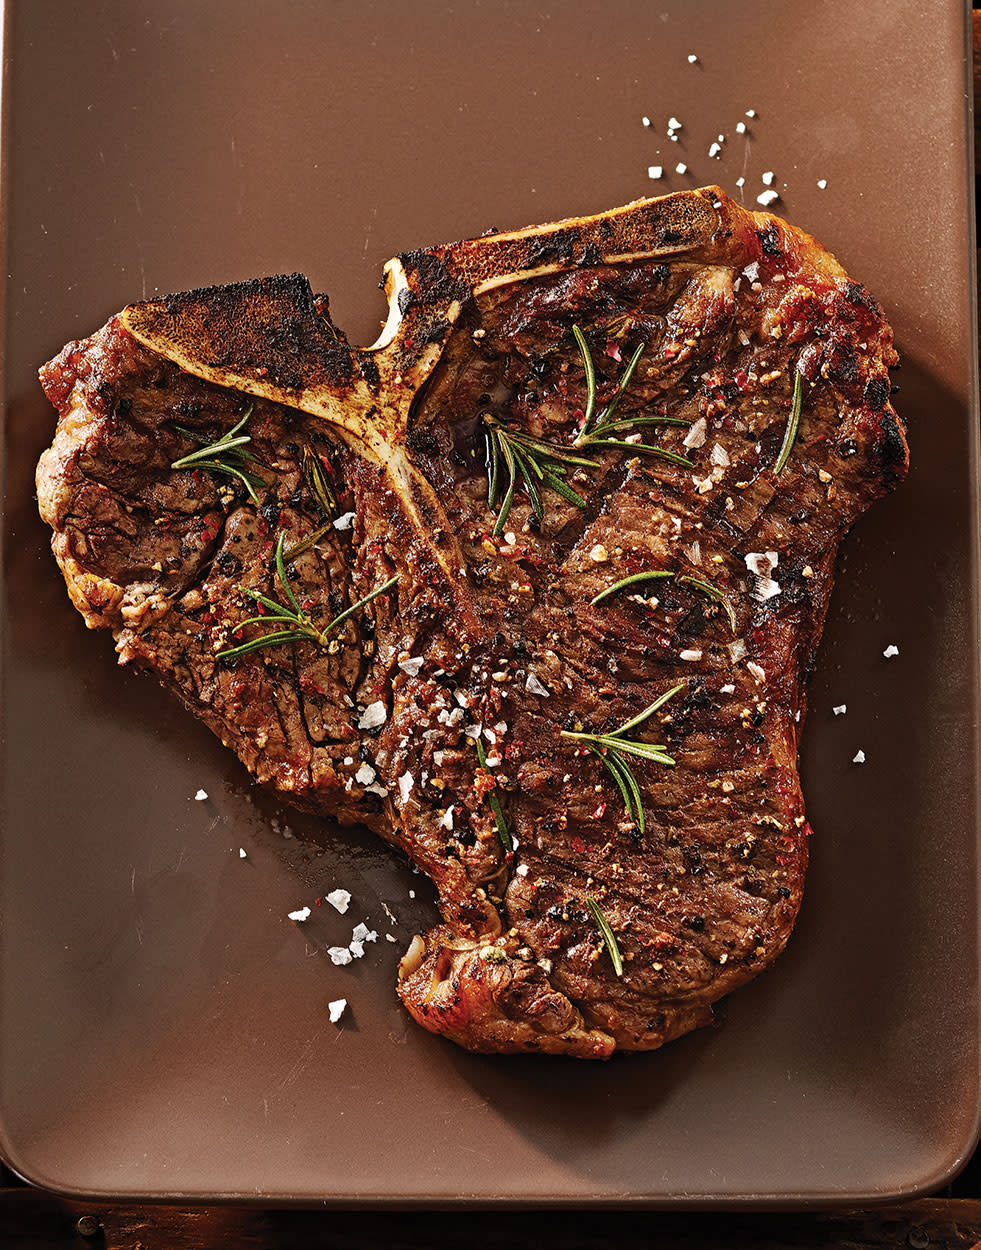
Season the steaks liberally with salt and pepper. This gives steaks a mouthwatering crust and savory flavor. But don’t season too far in advance — the salt will draw out the meat’s juices, preventing a good sear, and making the steaks’ texture soggy.
-
Close the lid while the steaks are grilling. Otherwise, you lose the precious heat that’s needed to cook the inside of the steaks.
-
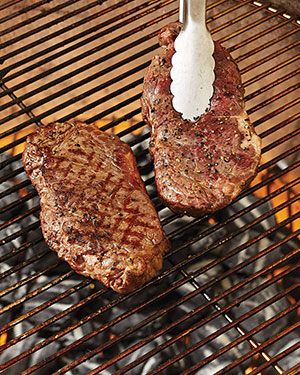
Know when to flip. The two signs that the steaks are ready to be flipped — when tiny beads of blood start to form on the tops, and the steaks easily release from the grate.
-
Use a spatula or tongs to flip the steaks, never stab them with a carving fork. Piercing a steak causes the flavorful juices to leak out.
-
Touching is the best way to determine doneness. Steaks get firmer the longer they grill. A rare steak will feel soft, a medium-rare steak will be gently yielding, and a medium steak will yield slightly.
-
Never leave your post. Flareups happen and steaks aren’t cheap.
-
Let steaks rest. Steaks continue to cook by means of residual heat. As the steaks rest, the juices redistribute, making them tender and juicy.


STEAK MASTER TIP
It’s a lot more fun to serve someone a great-looking steak than an ordinary one. And while it doesn’t actually make a steak taste any better, crosshatching, or “quadrillage,” does make it really attractive.
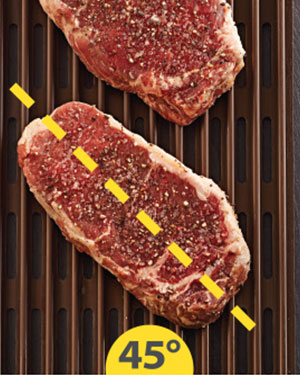
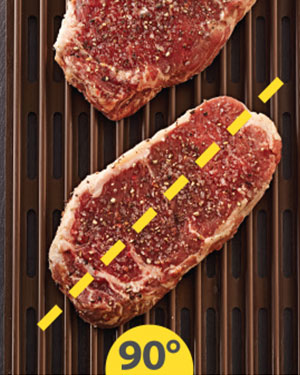
1. Arrange steaks at a 45° angle to the grill grate; cook 1–2 minutes.
2. Rotate steaks 90°; cook 1–2 minutes.
3. Flip steaks and arrange at a 45° angle; cook 1–2 minutes.
4. Rotate steaks 90°; cook 1–2 minutes more to finish.
Product Recommendations
Interested in cooking? Need some supplies?
Check out some of the tools we like. All products featured on Cuisine at Home are independently selected by our editors; we may earn an affiliate commission from qualifying purchases through our links.