How to Make Homemade Corned Beef
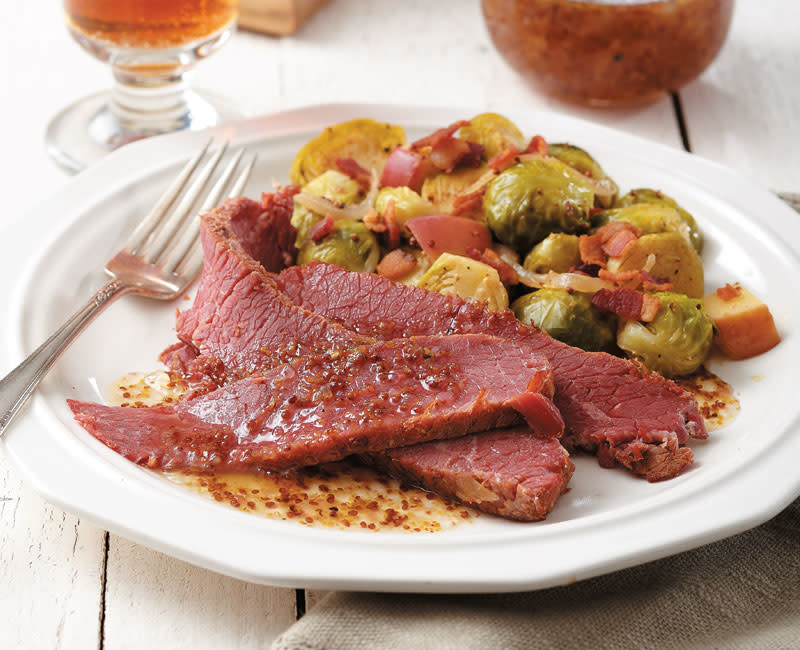
Enjoy this St. Paddy’s Day favorite like never before when you make it yourself! A few spices and a little time are all you need for this flavor-packed, tender homemade corned beef.
(Note: As an Amazon Associate, we earn from qualifying purchases made through affiliate links.)
All these years, most of us have been cooking and eating pre-packaged corned beef for St. Patrick’s Day. It’s been as much a part of the tradition as drinking green beer or wearing a “Kiss Me I’m Irish” T-shirt. But is there something better? You bet there is: homemade corned beef. We'll show you how to cure your own beef so that it has superior flavor, texture, and good looks, and then cook it to perfection. It’s an easy two-step process of corning and braising. You’ll be blown away by the flavor — you won’t even want to drink green beer with this corned beef!
When you corn your own beef, you’re in control of what goes into it. Plus, you know exactly how long the beef has been corned — who knows with the corned beef in your grocer’s meat department. Letting the beef corn for 72 hours is essential to ensure the meat is cured throughout, and braised meat needs to cool overnight, so be sure to plan a few days ahead.
Preserving Agents: A Little History
Okay, you do use some pretty unfamiliar things to corn beef. But with good reason. Until 1975 when it was banned by the USDA, potassium nitrate (saltpeter) was used to preserve meats and keep their red color. But it’s not exactly a health product — saltpeter is an active ingredient in gunpowder, and considered poisonous. But the small amount used to cure our grandparents’ hams didn’t bother them.

Sodium Nitrate
Now, a “kinder, gentler” nitrate is used — sodium nitrate. Don’t panic — the sausage, ham, and bacon that you eat now are all preserved with specific amounts of nitrates which are closely controlled by the FDA. Despite what you may think, nitrates aren’t all bad — they are there for a reason. They help retain the meat’s pink color, add flavor, and inhibit the growth of Clostridium botulinum, which can cause botulism. Salt-only beef is brown, and doesn’t taste “corned,” just salty. That cured flavor is from the nitrates. When you corn beef at home, use Morton® Tender Quick®. It’s similar to what meat processors use — a mixture of salt, sugar, and small amounts of sodium nitrates.
Step 1: Curing The Meat (Corning)
For the full ingredients list and directions for Step 1, grab our corning recipe (Homemade Corned Beef).
Corning, a form of curing, used to entail rubbing corn-sized grains of salt into meat to preserve it. Today, a dry cure is used to both corn and flavor.
But, before you get started with the corning recipe, a few good things to know:
- You’ll mix Morton® Tender Quick® with ground spices to make this dry cure.
- Brisket is the most common cut of beef to corn since it yields the best flavor and texture.
- Look for the flat cut of brisket, which you may have to ask your butcher for. See our Test Kitchen Tip: Flat Cut vs. Point Cut.
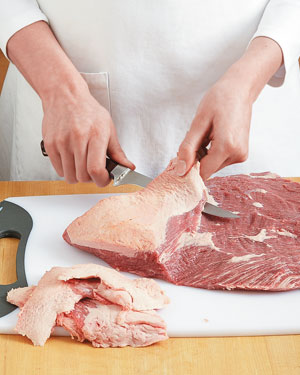
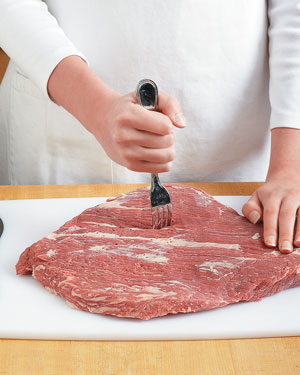
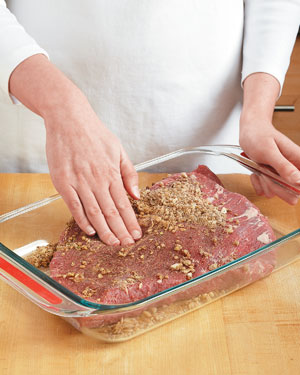
- Prepare the brisket and apply the cure (figures 1–4 below).
- Letting the beef corn 72 hours is essential to ensure it's corned throughout.
-
Trim all excess fat from the surface of the brisket. This ensures the dry cure can corn in 72 hours.
-
Poke holes all over both sides of brisket to help the dry cure penetrate all the way through the meat.
-
Rub the brisket with the cure in a nonreactive pan to prevent it from picking up a metallic taste.
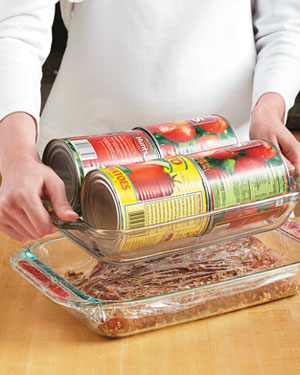
-
After applying the cure, weight the beef with cans or a cast-iron skillet to encourage corning.


At this point your job is done until 72 hours have passed and the beef is corned throughout. When you're ready to get cooking, it’s time for the second step: braising.
Step 2: Cooking The Meat (Braising)
For the full ingredients list and directions for Step 2 (Braising), check out our Braised Corned Beef recipe.
But, before you get started with the Braised Corned Beef recipe, keep in mind that this recipe recommends cooling the braised meat overnight — it’s a mostly hands-off recipe, but you want to cook this the day before you serve it.
Braising vs. Boiling
Boiled corned beef is out. No question, braising is best for this meat. When meat cooks, the fibers shrink as water evaporates and fat melts out — that means you lose moisture and flavor. But heat also dissolves tough connective tissue. With a cut of meat like brisket, you have to find a cooking balance — long enough to break down the fibers and connective tissue, but not so long the meat dries out. The best way to do this is with a method like braising.
Braising is a technique where tough meats are simmered in a deep pan with a little liquid. The pan is covered, creating a steam bath — moisture surrounds the meat but it’s gentler than boiling. Boiling happens at 212°. But for braising, the temperature is lower, about 185°. So, you can braise meat longer because it doesn’t cook as quickly — more time to tenderize. Originally, corned beef was boiled to leech out some saltiness — salt (and flavor) ended up in the water. With braising, some saltiness is released into the liquid. But the fibers are relaxed enough to reabsorb the braising liquid — and reabsorb flavor.
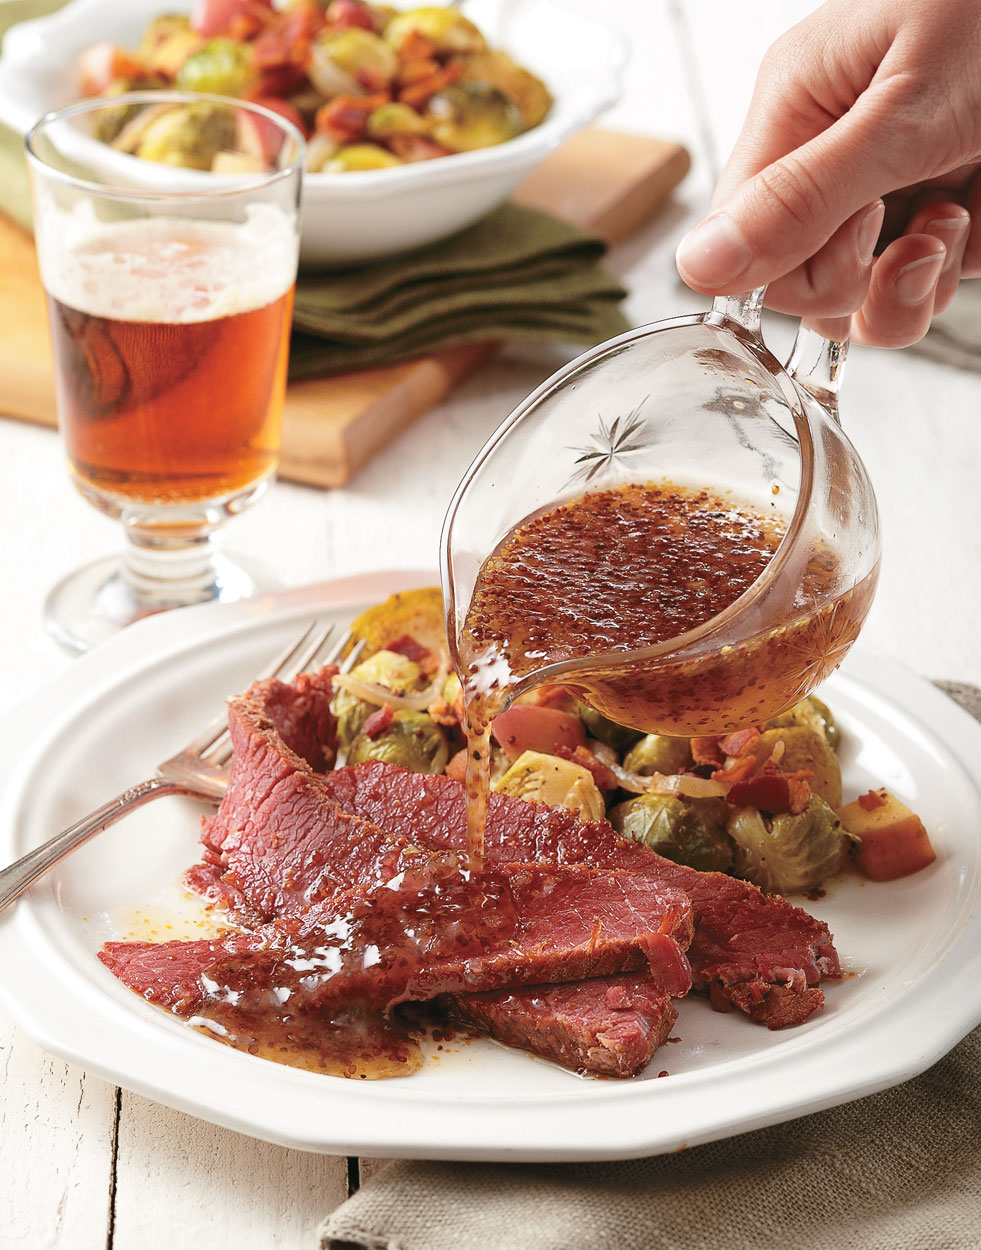
Sure, the beef has loads of flavor from the corning, but braising in broth, apple juice, and whole spices takes it to new heights. Once cooked until tender, let the beef cool in the braising liquid. The meat will absorb the liquid, making it extra moist and flavorful.
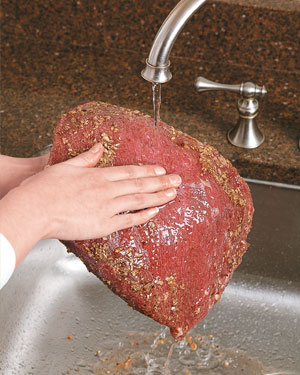
Rinse all the salt and spices from the corned beef, otherwise it’ll be too salty and overpowering.
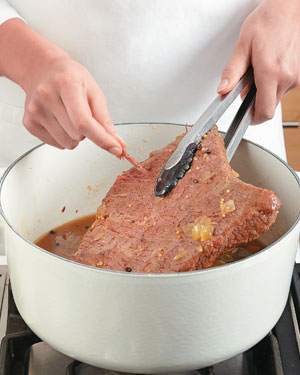
The corned beef is done braising when you can easily pull a strand of the beef with your fingers.
Get The Recipes
Now that you know the basics, grab the recipes for a full St. Paddy's Day meal to remember:
- Step 1: Corning — Homemade Corned Beef
- Step 2: Braising — Braised Corned Beef
- Side Dish — Braised Brussels Sprouts
- Sauce — Apple-Mustard Sauce
Like this article? Check out all of our How-To Cooking Articles & Videos, here.
Product Recommendations
Interested in cooking? Need some supplies?
Check out some of the tools we like. All products featured on Cuisine at Home are independently selected by our editors; we may earn an affiliate commission from qualifying purchases through our links.