Steel Away: How to Keep Your Knives Sharp
(Note: As an Amazon Associate, we earn from qualifying purchases made through affiliate links.)
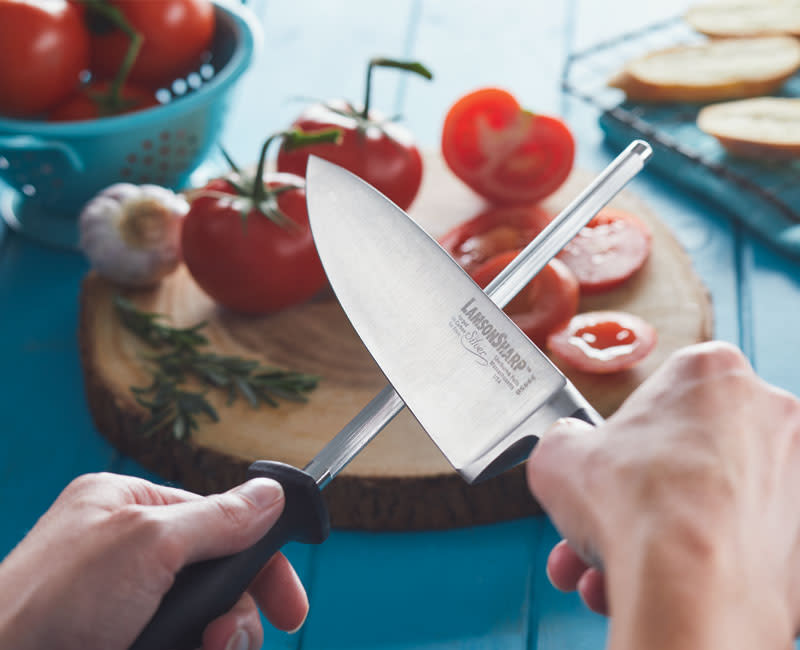
When it comes to keeping knives sharp, nothing is more important than steeling them for preventative maintenance. But what is steeling and how do you do it? Here’s a quick primer.
When you buy a set of knives, they cut like a dream. But after a while, they become dull, and slicing becomes next to impossible. Now, steeling won’t make a dull edge sharp, or create a new edge. That entails sharpening your knives, which is another method altogether. But to keep an edge razor-sharp, you need to learn how to steel (or hone) your knives, and do it on a regular basis.
Steeling means aligning, or straightening a knife’s edge. Normal wear and tear causes the extreme edge of the blade, called the burr, to curl over on itself. Steeling uncurls the burr so it stays straight and your knife cuts well. Start with new knives or freshly sharpened knives, then get steeling immediately and do it every time you use your knives.
Real Steel
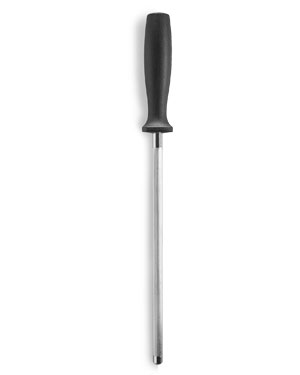
To start steeling, you need a steel (or hone), that 10–12- inch metal rod that probably came with your knife set. It’s made of chrome-plated carbon steel. Chrome plating makes the steel harder than the knife. It’s slightly abrasive and helps align the edge of your knife. There are other types of steels, but this is all you really need. Here's a great option from Wusthof.
Steeling How-To
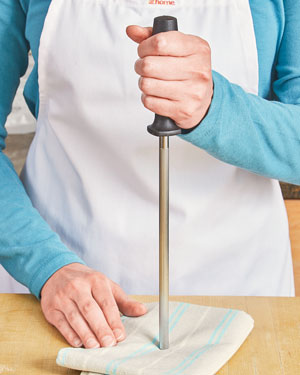
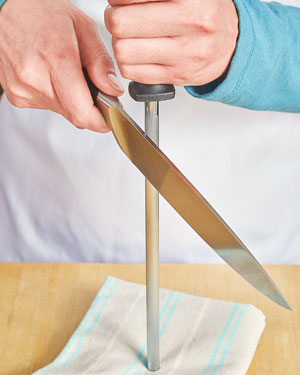
Step 1: Plant the steel vertically with its tip anchored on a nonstick surface, like a kitchen towel.
Step 2: Place the knife heel against the top of the steel at a 15–20° angle — a matchbook is a good guide.
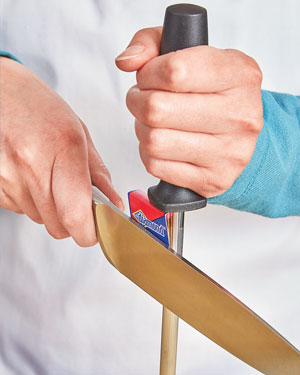
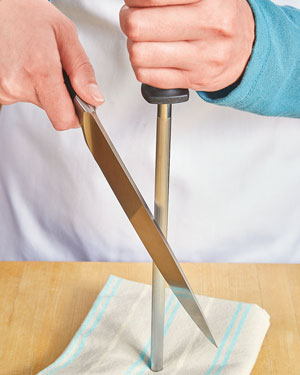
Step 3: Slowly and steadily pull the blade toward you and down the steel, like cutting cake.
Step 4: Keep the angle between the blade and steel consistent. This is easiest if the knife is the only thing moving.
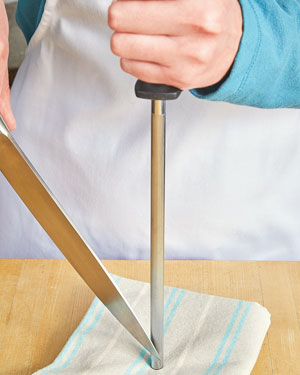
Step 5: Work the entire edge of the blade so the knife tip ends at the bottom. Use light, even pressure.
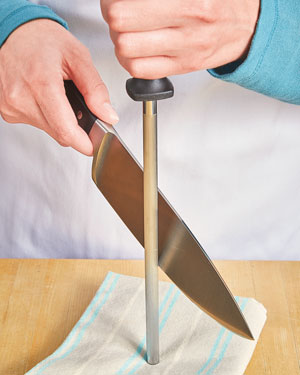
Step 6: Steel each side 4–5 times, alternating sides. With practice, you’ll get the hang of it.
Knife Care Do's & Don'ts
• Do steel your knives every time you use them.
• Don’t wash your knives in the dishwasher. They can be tossed around and banged against racks and other objects, and the high temperature can damage blades.
• Do wash and dry your knives by hand after each use.
• Don’t soak knives in bleach water or other chemicals. Even weak cleaners can damage the metal.
• Do store your knives in a knife block, on a magnetic strip, or in a plastic knife guard that surrounds the blade.
• Don’t leave knives in the sink. It’s not only dangerous to others, but blades can be damaged by hitting the sides of the sink.
• Do have your knives professionally sharpened (or sharpen them yourself) when steeling no longer seems to do the trick.
• Don’t use knives to open cardboard boxes or plastic jugs.
• Do choose a polypropylene plastic or wooden cutting board. They’re easiest on your knife blades, dulling them more slowly than other materials do, such as hard stones.
Watch and Learn
Here's a helpful video to show you how to steel your knives.
Product Recommendations
Interested in cooking? Need some supplies?
Check out some of the tools we like. All products featured on Cuisine at Home are independently selected by our editors; we may earn an affiliate commission from qualifying purchases through our links.