Making Bacon From Scratch
If you've ever wanted to learn how to make the King of Meats right in your own kitchen, you've come to the right place. Making bacon really couldn't be any simpler!
By: Haley J Wilson
(Note: This post contains affiliate links. As an Amazon Associate, we earn from qualifying purchases made through affiliate links.)
Bacon is one of those items that you probably never really thought about making yourself, or assumed it would be too difficult. I know the latter is how I felt. I was intimidated by having to find pork belly, and curing always makes me a little nervous since it’s not something I do all the time. But after my first test batch, I realized making bacon from scratch couldn’t be any easier, with the right tools at your disposal.
What do you need to make bacon from scratch?
First you need to find pork belly. A 4-5 pound (skinless) slab is the perfect size since it will fit (snuggly) into a gallon-size plastic bag. Next you need the ingredients for the curing mixture – kosher salt, brown sugar, black peppercorns, and pink salt. And for the final step you’ll need hard wood for smoking the bacon … and that means you’ll need a smoker, too. If you don’t have a smoker, or can’t gain access to one, don’t worry, you can still make unsmoked bacon, and some may even prefer that.
What's Pink Salt?
Pink salt, also called Prague Powder #1 or Instacure #1, is a mixture of table salt and sodium nitrite used to cure meats. It’s pink because of added dye to differentiate it from regular salt — it’s used in much smaller quantities than regular salt and should NOT be used interchangeably. Though you can cure meat without pink salt, it gives bacon, and other cured meats, its characteristic flavor and pink color. And most importantly, it inhibits botulism and the growth of other bacteria.
Back to the bacon: How to make Homemade Bacon
So once you’ve gathered your ingredients, it’s time to get started. After mixing the cure together you’ll rub it all over the belly, then place the belly, and any lose curing mixture in the resealable plastic bag. The belly will hang out and cure for 5-7 days. Just flip the bag over every day to ensure the curing mixture and liquid that accumulates (basically a brine) gets redistributed in the bag so the belly cures evenly. You’ll know the belly is finished curing when it feels firm to the touch, like a cooked steak.
At this point, remove the belly from the bag, rinse it under cool water to remove all the curing mixture, pat it dry, then set it on a rack inside a baking sheet in the fridge, UNCOVERED, for 12-24 hours. By leaving the belly uncovered, the exterior dries out, which allows the smoke to better adhere to it.
Now you’re ready to smoke. I had access to two types of smokers, but I felt the most comfortable using the electric one that one of my coworkers had at her house. The benefit of an electric smoker is that the temperature is a bit easier to control, as far as I can tell.
You want to set your smoker to maintain a temperature of 175-200-degrees, then smoke the bacon to 150-degrees, which takes 2-3 hours. You’ll want to check on your wood periodically to add more as necessary, and keep an eye on your smoker temp, too. Once the bacon reaches the magical temp of 150-degrees, you can pull it out and let it come to room temperature before wrapping in plastic and chilling overnight. This will give you time to dream about how good the bacon will be when you fry it up in the morning!It also sets the texture and flavor of the bacon.
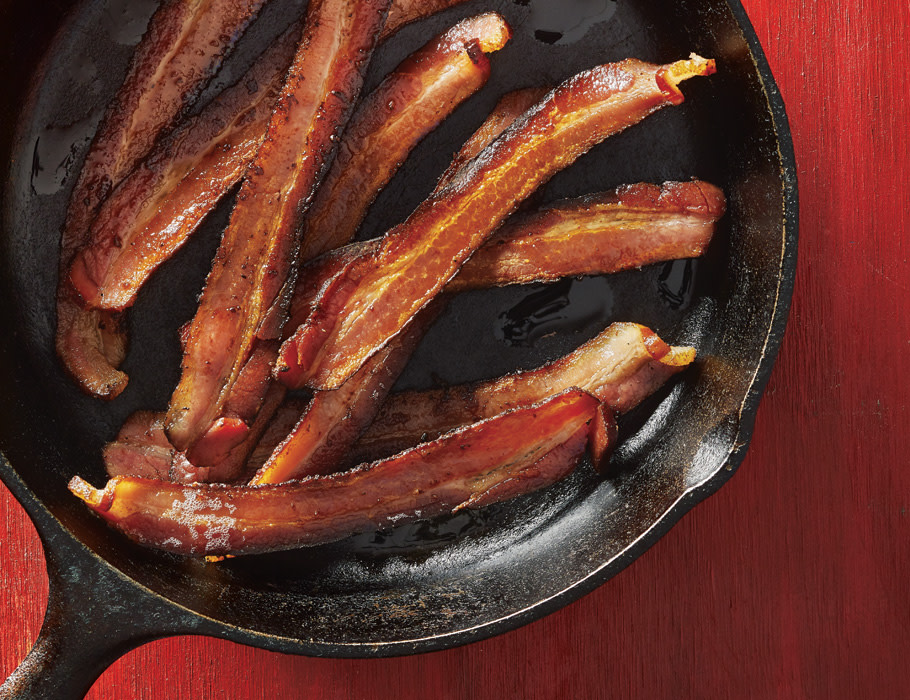
Now you’re ready to slice. I would find the sharpest knife you own, and slice the bacon as thinly as possible. It’s OK to cut the large slab of bacon into smaller pieces before doing this step because it is a lot to wrangle.
OK, so maybe all I’ve done is make this process sound difficult, but it’s really not. You cure the belly, dry the belly, smoke the belly, slice the bacon, and enjoy it. Easy, right?
Check out the recipe for Homemade Bacon.
Product Recommendations
Interested in cooking? Need some supplies?
Check out some of the tools we like. All products featured on Cuisine at Home are independently selected by our editors; we may earn an affiliate commission from qualifying purchases through our links.