Breakfast / Brunch
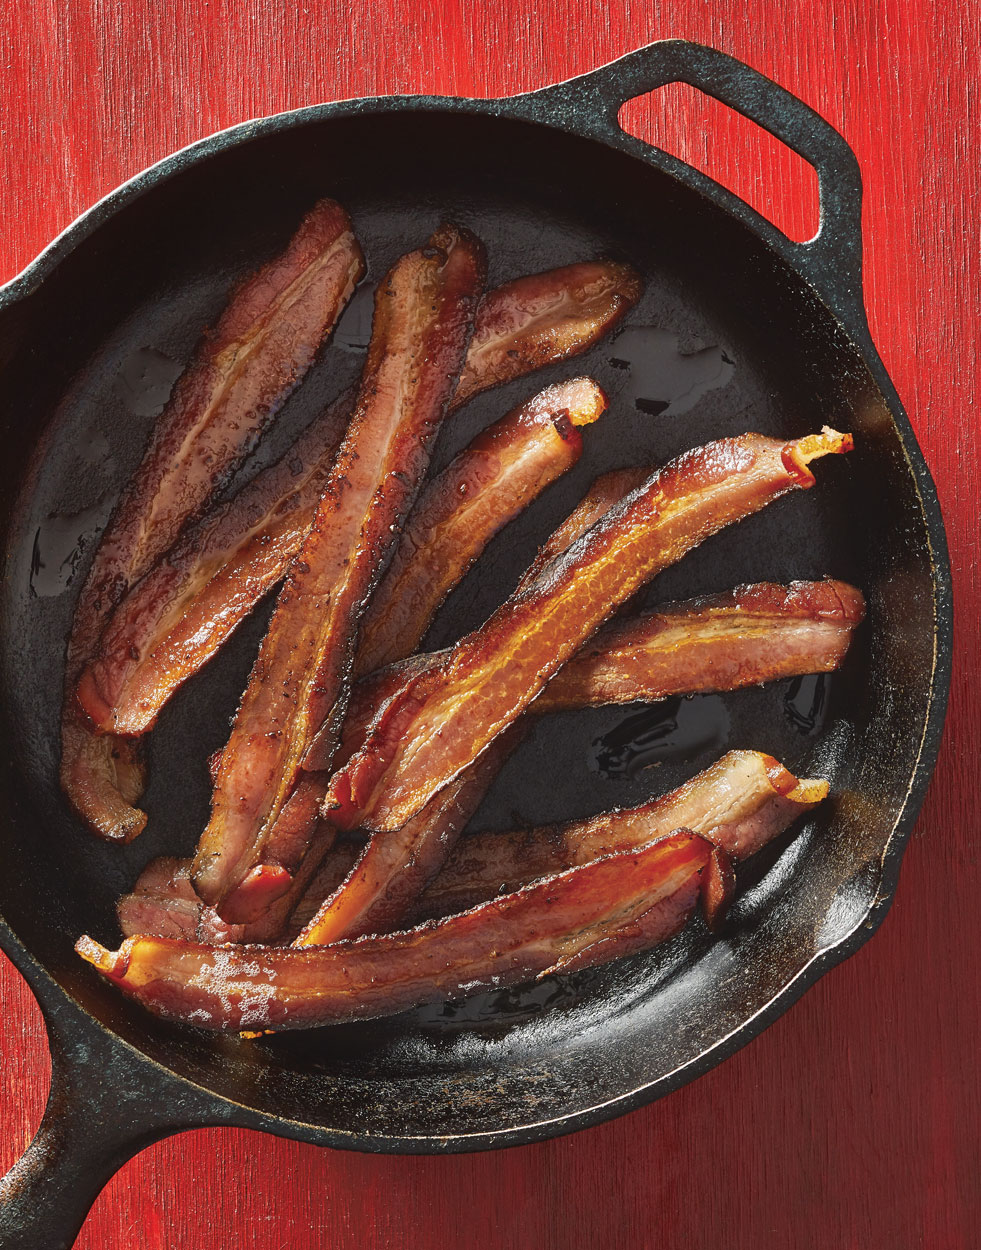
Homemade Bacon
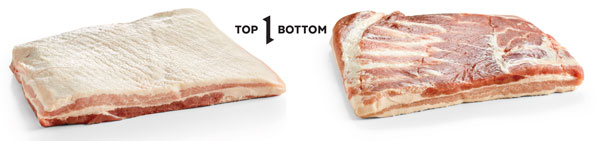
Bacon is really the only meat you hear people say they have a hard time giving up. There’s just something about the intensely meaty, salty, smoky, and fatty cut that people crave. You can smell it cooking a mile away and the aroma is so enticing. It’s good to snack on, as a side dish for breakfast, on sandwiches and salads, and as a flavoring agent for soups and stews. It sure seems to us that everything is better with bacon. But did you know bacon is actually pretty simple to make at home? It’s true. Just follow the steps outlined on pages 37–39 for choosing a pork belly, curing, rinsing, and drying it, then finally smoking it to get to the final result — delicious, smoky bacon. If you don’t have a smoker, it’s not a problem — you can still make bacon. Just prepare the belly up to the point of smoking, then roast it in a 200-degree oven on a rack set in a baking sheet until it reaches 150 degrees. Whether you smoke the bacon or not you’ll still be proud of the results. Just be sure to chill the bacon overnight before slicing and frying.
Ingredients
Pink salt: What is it? And why are we using it?
Pink salt, also called Prague Powder #1 or Instacure #1, is a mixture of table salt and sodium nitrite used to cure meats. It’s pink because of added dye to differentiate it from regular salt — it’s used in much smaller quantities than regular salt and should NOT be used interchangeably. Though you can cure meat without pink salt (you’ll likely need to increase your kosher salt), it gives bacon, and other cured meats, its characteristic flavor and pink color. And most importantly, it inhibits botulism and the growth of other bacteria.
Instructions
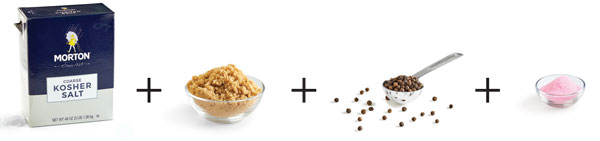
Combine kosher salt, packed brown sugar, black pepper, and pink salt in a bowl for the cure.
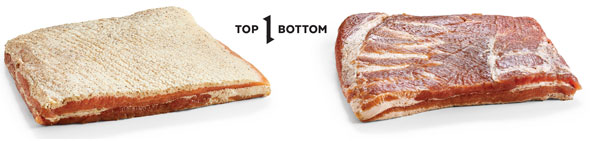
Place the belly on a baking sheet and massage the cure on all sides, then place it, and any excess cure, in a resealable plastic bag. Set the bag in a glass dish to catch potential leaks.
Refrigerate and turn the bag daily until the belly is firm (like a cooked steak), 5–7 days. The cure pulls moisture from the meat, creating a brine. Turning the bag redistributes the brine ensuring the belly cures evenly.
Rinse the cured belly under cool water to remove all excess cure. Dry the belly with paper towels, or clean kitchen towels then place on a rack inside a baking sheet.
Refrigerate the belly, uncovered, 12-24 hours, turning once or twice, to dry it out, and form the pellicle. The pellicle is a tacky skin that forms on the exterior of meat when air-dried. It attracts smoke and gives the smoke something to adhere to.
Set up smoker according to manufacturer’s instructions to maintain a temperature of 175–200 degrees. Use hardwood chips or chunks — whatever your smoker calls for.
Smoke the bacon until it reaches an interior temperature of 150 degrees, 2–3 hours. Transfer bacon to a clean rack and let come to room temperature before wrapping it in plastic and chilling overnight to set the flavor and texture.
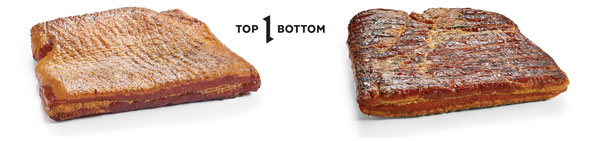
Slice chilled bacon 1/8-inch thick, or to desired thickness.
Note: It’s difficult to slice homemade bacon as thinly as store-bought bacon, so you’ll likely need to cook it at a lower temperature than you’re accustomed to ensure the fat renders before the bacon burns.
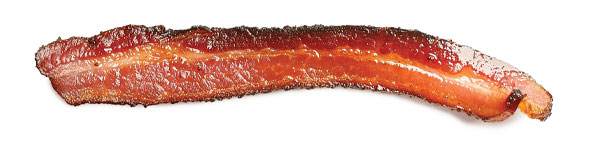
Oven: Start bacon in a cold oven, then preheat to 350-degrees, and cook to desired doneness.
Skillet: Start bacon in a cold skillet, then heat over medium-low, and cook to desired doneness.
Bacon will keep in the refrigerator 5–7 days, or in the freezer for a few months.