Baking With Kids: Puppy Cupcakes Edition
I absolutely love to bake and decorate cupcakes for my daughters, nieces, nephews, and whoever asks for me to make them. And the best part, my kids love to help too. Here, I am going to walk you through our process of making these puptastic cupcakes, and maybe you too will put your creative cap on and start baking and decorating with your kids.
By Madalyn Bendgen
(Note: This post contains affiliate links. As an Amazon Associate, we earn from qualifying purchases made through affiliate links.)
Why Puppy Cupcakes?
When my oldest daughter was turning 2 she was completely hooked on the movie series “Air buddies.” (We also have a golden retriever, so I am sure that too played a role in her love of these movies.) The series entailed golden retriever puppies doing all kinds of fun adventures, like going to the moon in a spaceship. Knowing my daughter’s love of dogs, I had the brilliant idea of having a 2-year-old Puppy Party. Sounds cute right? I sure thought so! Now that the theme was decided I went on Pinterest and searched all over for dog cupcakes. I was shocked to see how many options there were. After scrolling through all the adorable options, I finally choose a direction to go and started thinking of a game plan for making the cupcakes come to life.
How To Make Puppy Cupcakes
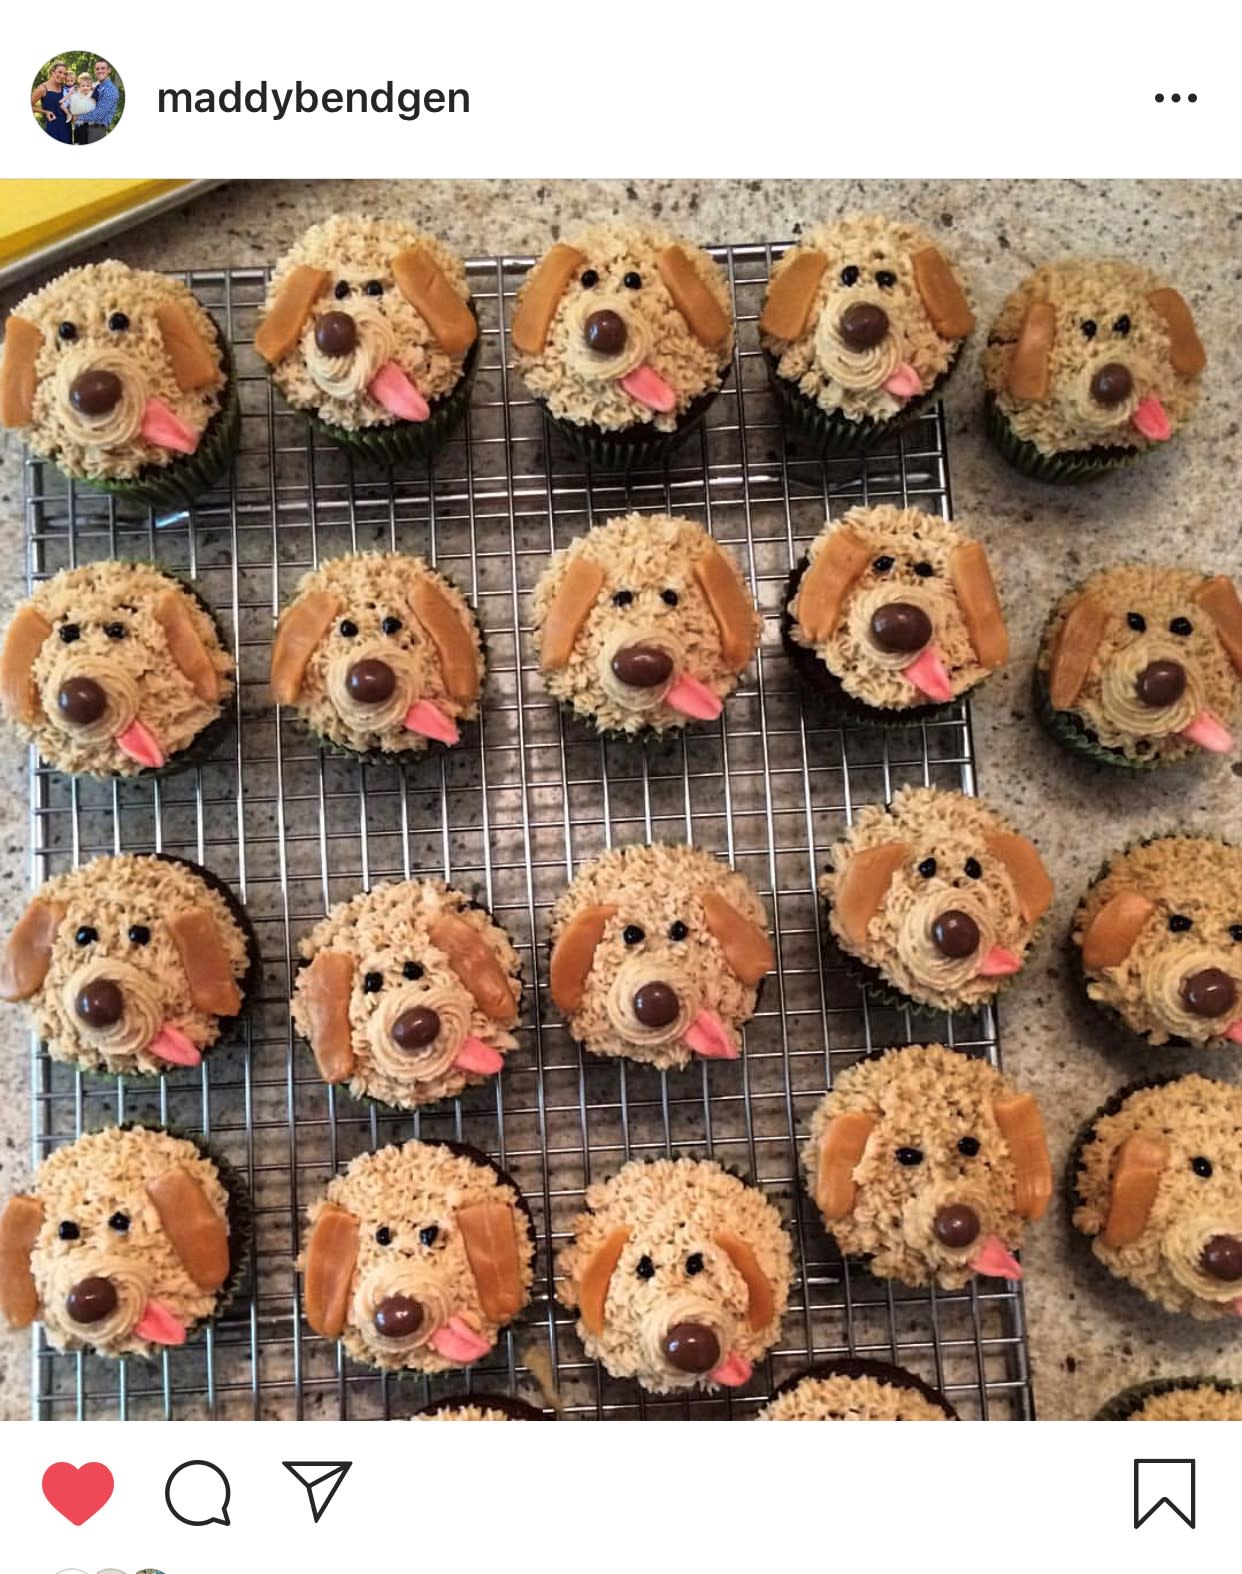
The batter for the cupcakes was Cuisine’s Old Fashion Chocolate Cake. This is my go-to chocolate cake mix — it’s simple and turns out perfectly every time. Then instead of dying the frosting, I decided to go with a peanut butter buttercream frosting for the perfect golden retriever color. (Did I mention I had never made a peanut butter buttercream before... I mean, why not try a new recipe before serving it to guests?! Thankfully it turned out to be very tasty, phew!) For the frosting, I took a traditional buttercream recipe and swapped half the butter amount for peanut butter — Yummy! To give these puppy cupcakes some furry texture, I piped the frosting using a small open star tip. And, using the same decorating tip, I did a little swirl of frosting in the middle/bottom half of each cupcake for the noses. Pending how old your kiddos are, you might want to do the piping of the frosting. My daughter helped with scooping out the peanut butter, and dumping the measured ingredients into the bowl. Then to wrap up the noses, my daughter topped the swirl of frosting with a chocolate covered raisin. (I may have mentioned "be gentle" and "don't push too hard" many, many times.)
Now on to the ears. Instead of piping the ears with frosting, we used caramels. I sliced the caramels and together we slightly pulled/shaped the caramels into long ears. I think my kiddo did more eating then shaping during this stage. And the tongues consisted of a similar process. To achieve the cutest little pink tongues, I cut pink starbursts into little slices and shaped and slightly folded the pieces to look like little tongues hanging out of their mouths. To get the little line down the middles, I took a pairing knife and lightly pressed, making sure not to cut through the starburst. But when it came to the eyes, I was starting to run out of steam, not to mention my two year old was in a sugar high, so we opted for a little tube of black food gel.
Overall, the cupcakes were a hit, and everyone at the party loved them including the birthday girl. Most importantly, this mom was not thrown into the doghouse for poor planning.
Product Recommendations
Interested in cooking? Need some supplies?
Check out some of the tools we like. All products featured on Cuisine at Home are independently selected by our editors; we may earn an affiliate commission from qualifying purchases through our links.