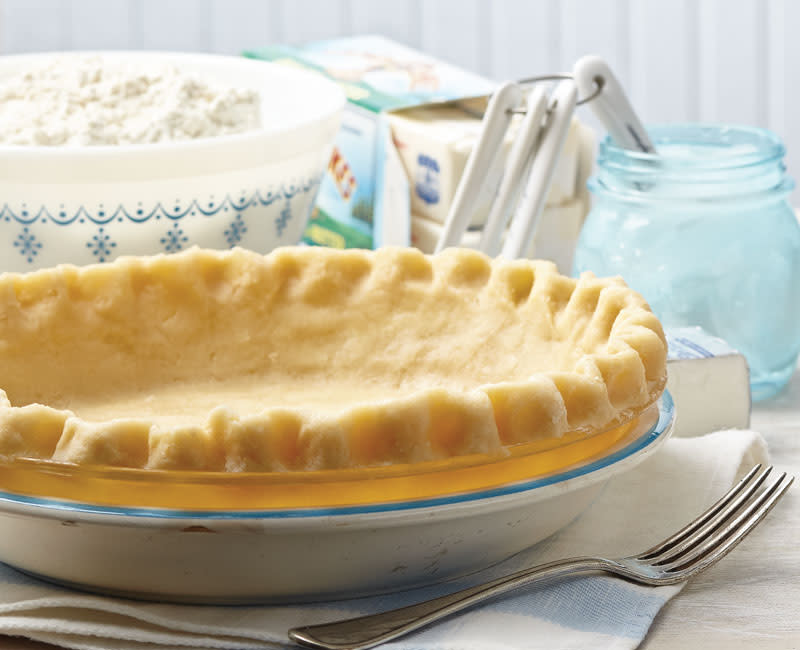
How To Make Perfect Flaky Pie Crust
Making Perfect Flaky Pie Crust really is as easy as pie. Armed with just a few tips in this simple, step-by-step guide, you’ll be an expert in how to make flaky, tender, and crisp pie crust in no time — you'll wonder why you ever bothered with purchased pie dough in the first place.
(Note: As an Amazon Associate, we earn from qualifying purchases made through affiliate links.)
A great pie crust is flaky, tender, and crisp. And with only three components — flour, fat, and liquid — it should be simple, right? Well not quite.
Flaky crusts happen when small bits of fat in the flour melt while the crust bakes, creating pockets.
The problem is, if the fats melt before the crust bakes, pockets can’t form. The solution — keep all the ingredients cold, including the equipment.
Tender crusts are attributed to minimal gluten formation in the dough. Too much gluten develops from an excess of water and overworking the dough.
To sidestep this potential pitfall, first, use water and alcohol in the dough. Alcohol doesn’t contribute to gluten formation like water does, but some gluten is needed to create structure, so a combo of the two is best.
Second, avoid overworking the dough when mixing. Bring it together just enough to form a shaggy mass (some loose pieces are OK).
And, a crisp crust comes from baking on the very bottom rack. This also ensures the bottom cooks at the same rate as the rest of the crust.
ABOUT THE INGREDIENTS
Flour Choose all-purpose flour for pie crust. Cake flour doesn’t have enough gluten-forming protein to add structure, and bread flour has too much, leading to a tough crust.
Fat Butter and shortening help prevent gluten from forming by coating the flour proteins, making them resistant to water. Shortening does a better job than butter, since it doesn’t contain any water, keeping gluten formation to a minimum, but butter adds flavor; a combination of the two is best.
Liquid Gluten forms when water and flour mix, but 80-proof liquor doesn’t activate the gluten-forming proteins in flour as easily — it’s only 60-percent water. To keep the crust tender, use an equal ratio of water and liquor.
ABOUT THE TOOLS & METHODS
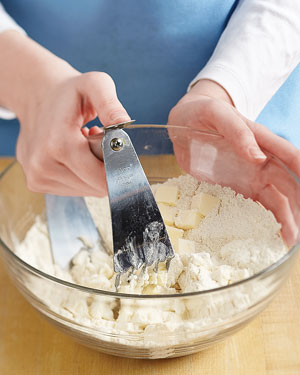
Pastry blender Cut the fats into the flour using a pastry blender. (Check out one of our favorite pastry blenders.) It works better than your fingers because you can chill it, keeping the fats from melting, leading to a flakier crust.
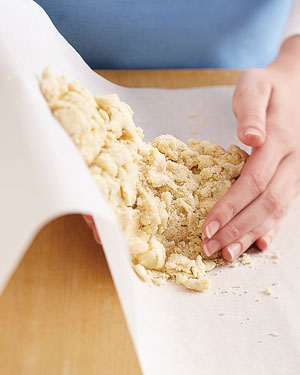
Parchment paper Folding the dough over on itself until it holds together is easily done using a sheet of parchment. (We prefer flat parchment paper.) It keeps the warmth of your hands from melting the fats and prevents overworking, plus the folding action creates more layers in the dough.
Chilling To prevent the fats from melting, and to keep the crust flaky, it’s crucial to chill the dough. This allows the liquid in the dough to disperse thoroughly, so any dry parts get hydrated.
Blind-baking When a pie crust is baked without a filling in it, it’s referred to as blind-baked. This is necessary for pies with fillings that don’t need to bake, like this one. To blind bake, line the crust with parchment or foil, fill with weights — like dry beans or rice — and partially bake. Weights keep the sides from slumping and the center from puffing. Remove parchment and weights to finish baking and browning.
GRAB OUR RECIPE & FOLLOW THESE THREE STEPS
Grab our recipe for Perfect Flaky Pie Crust and follow these three simple steps for the best pie crust you'll ever make.
-
Cut fats into the flour — as they melt, they leave pockets in the dough, resulting in a flaky crust.
-
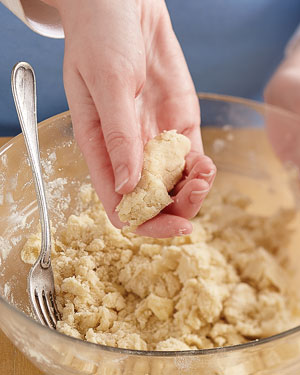
If the dough mixture holds together when squeezed in your hand, no more water is needed.
-
Use parchment paper to fold dough over on itself, bringing it together and creating more layers.


Equipment/Special Ingredients Needed
Want to give this technique a try?
Check out our recommendations for the necessary equipment and ingredients to make this recipe. All products featured on Cuisine at Home are independently selected by our editors; we may earn an affiliate commission from qualifying purchases through our links.

